サンプルコードはGoogleCodeのこちらで公開しています
センサ、独自ビューを組み合わせているため、本記事の前に以下の解説を確認することをお勧めします。
画面回転処理の独自実装の概要
画面回転を独自に対応する一番大きなメリットは回転タイミングを自分で制御できるため、GCやActivityの再生成によるパフォーマンスの影響が抑えられるということです。(おまけとしてAndroid標準で対応していない上下さかさまにも対応できる)
反対に通知バーなどは一緒に回転しない、回転の契機、ロジックが難しくなるといったデメリットも存在します。
今回はAndroidの傾きセンサの値をみて、Viewを回転、表示を切り替えました。おおまかな手順は以下の通りです
- 標準のOrientationを固定値にする(android:screenOrientation=”portrait” )
- センサから値を読み取り、画面の向きを決定する
- Viewを回転し、表示を更新する
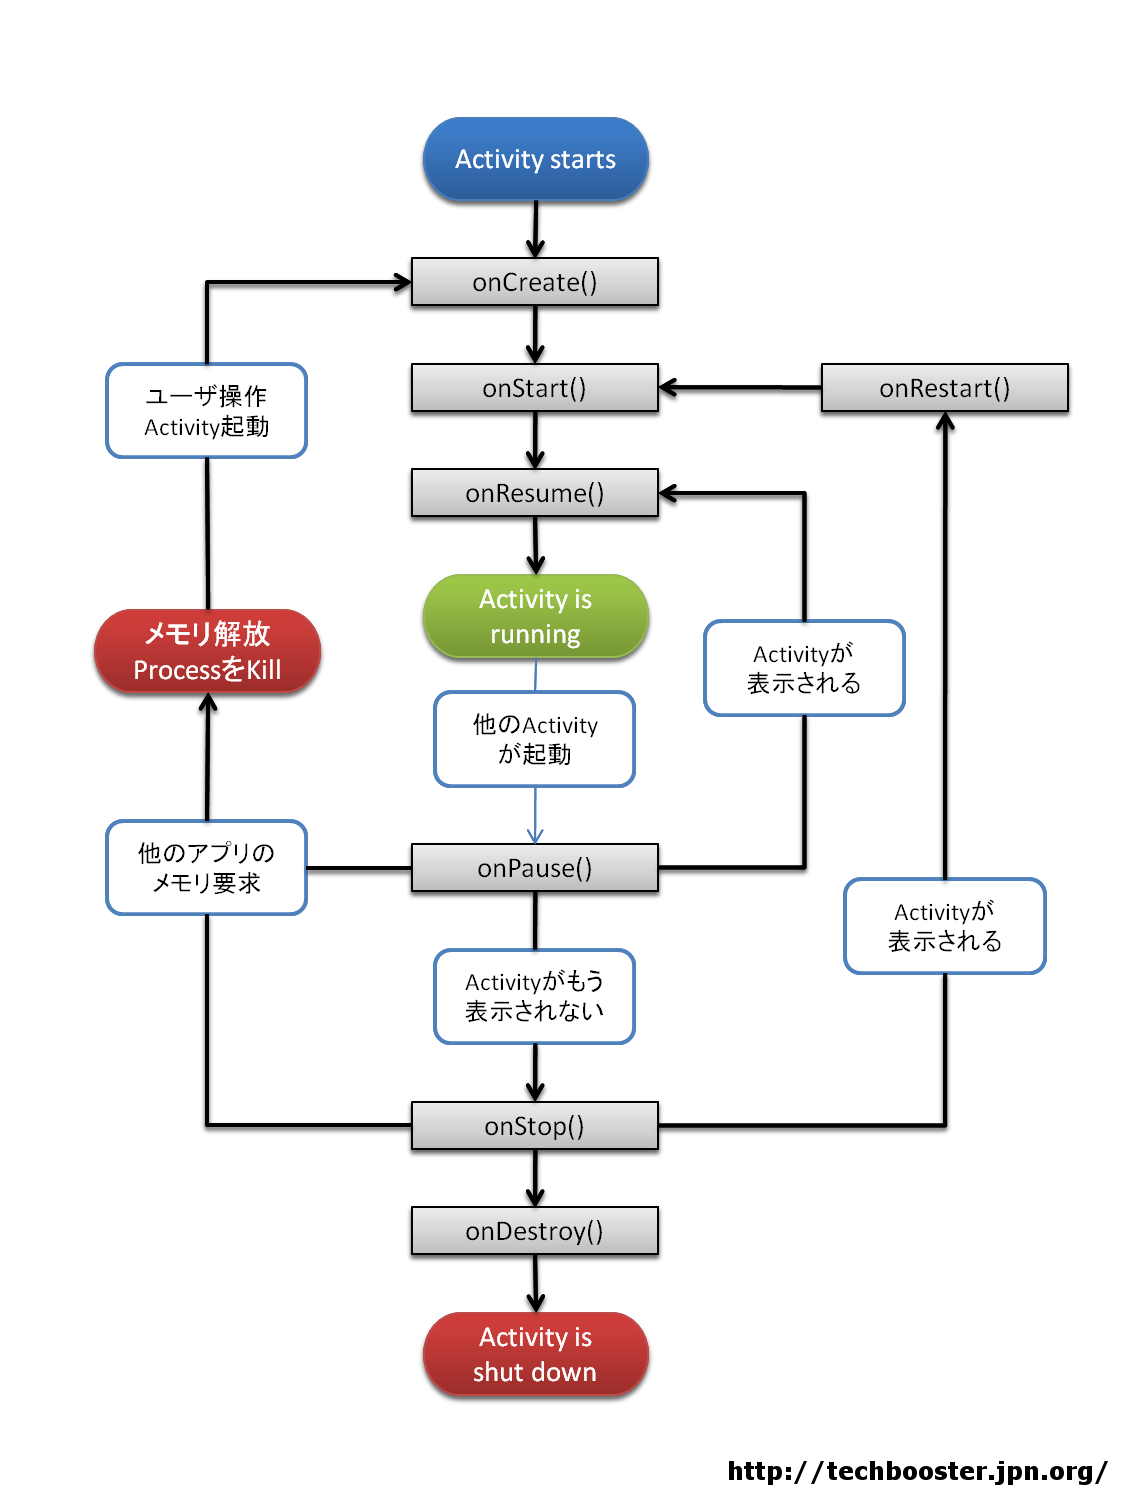
Androidのライフサイクル
Activityのライフサイクルのおさらいです。
画面回転時、Activityはライフサイクルに従い、一度onStopを経由しonDestroyされます。回転後、onCreateから画面を再構築します。
標準のOrientationを固定値にする
AndroidManifest.xml
    <application android:icon="@drawable/icon" android:label="@string/app_name">
        <activity android:name=".AutoRotateActivity"
                  android:label="@string/app_name"
                  android:screenOrientation="portrait" >
            <intent-filter>
                <action android:name="android.intent.action.MAIN" />
                <category android:name="android.intent.category.LAUNCHER" />
            </intent-filter>
        </activity>
    </application>
android:screenOrientation=”portrait” 指定を追加します。Orientationがポートレイトなので縦固定です。横向きに固定したいときはランドスケープ(landscape)を指定します。
センサの値を取得する
取得処理についてはセンサを使ってAndroid端末の傾きを知るを参照してください。
取得後の画面回転角の決定について説明します。センサより取得した傾きorientationValuesは3つの要素で構成され、順番にZ,X,Y軸のラジアン角です。
以下のようにログ出力し、端末を回転させてみます。
	// SensorEventListener内部の処理
	// センサーの値が変更されたときに通知が来る(TYPE_ORIENTATIONを利用:傾きが変わったとき)。
	public void onSensorChanged(SensorEvent event) {
        	(省略)
        	Log.v("Orientation",
                    String.valueOf( radianToDegree(orientationValues[0]) ) + ", " + //Z軸方向,azmuth
                    String.valueOf( radianToDegree(orientationValues[1]) ) + ", " + //X軸方向,pitch
                    String.valueOf( radianToDegree(orientationValues[2]) ) );       //Y軸方向,roll
	}
	int radianToDegree(float rad){
		return (int) Math.floor( Math.toDegrees(rad) ) ;
	}
縦向きの出力結果
04-19 08:43:35.886: VERBOSE/Orientation(1467): 29, 0, 1
04-19 08:43:35.886: VERBOSE/Orientation(1467): 26, -1, 0
04-19 08:43:35.906: VERBOSE/Orientation(1467): 24, -1, 0
90度右回転でもった場合(端末の右側面を地面方向に)
04-19 08:44:16.316: VERBOSE/Orientation(1467): -86, 8, 83
04-19 08:44:16.332: VERBOSE/Orientation(1467): -86, 8, 83
04-19 08:44:16.347: VERBOSE/Orientation(1467): -85, 8, 84
90度左回転でもった場合(端末の左側面を地面方向に)
04-19 08:46:14.609: VERBOSE/Orientation(1467): -77, 12, -85
04-19 08:46:14.609: VERBOSE/Orientation(1467): -70, 11, -85
04-19 08:46:14.625: VERBOSE/Orientation(1467): -61, 10, -85
180度回転してもった場合(端末を上下逆さまに)
04-19 08:47:03.875: VERBOSE/Orientation(1467): -94, 29, 179
04-19 08:47:03.875: VERBOSE/Orientation(1467): -94, 29, 179
04-19 08:47:03.890: VERBOSE/Orientation(1467): -92, 28, -180
Viewを回転し、表示を更新する
回転角が取得できたので、Y軸の要素orientationValues[2]について、ラジアン角をDegreeに直します。
Degreeに直したことで端末の傾きは、-180~180度(合計360度)の範囲で表現できます。
Degree角を元にViewの回転する方向を上下左右で丸めます。(-180,-90,0,90,180)
	float roundOrientationDegree(float roll){

		//inputのroll(Y軸のDegree)は-180~180の範囲を想定
		if(-225 < roll  && roll <= -135  )return  180.0f;
		if(-135 < roll  && roll <=  -45  )return   90.0f;
		if( -45 < roll  && roll <=   45  )return    0.0f;
		if(  45 < roll  && roll <=  135  )return  -90.0f;
		if( 135 < roll  && roll <=  225  )return -180.0f;

		return 0.0f;
	}
4行目、9行目:上下逆さまにしたときだけ、方向が-180度もしくは180度と、不安定なので気をつけてViewの回転角を求めてください。
Viewの回転(更新処理)
Viewの回転は独自Viewを作成して、onDrawメソッド内で行います。
onDrawなのでViewの画面描画を更新するView#invalidate()を誰かがコールしないと描画処理が行われません。
 public class AutoRotateActivity extends Activity implements SensorEventListener{
    ...(省略)...

    //描画するView
    ContentView view;

	@Override
	public void onCreate(Bundle savedInstanceState) {
	    super.onCreate(savedInstanceState);

	    //今回は内部クラスを表示
	    view = new ContentView(this);
	    setContentView(view);
            ...(省略)...
        }

	// SensorEventListener内部の処理
	// センサーの値が変更されたときに通知が来る(TYPE_ORIENTATIONを利用:傾きが変わったとき)。
	public void onSensorChanged(SensorEvent event) {
        	...(省略)...
		//描画更新
		view.invalidate();
        }
}
onSensorChangedメソッドの中でview.invalidate()を呼び出しているため、サンプルでは画面更新頻度が高くなっています。
本来望ましい処理は、センサのY軸方向で「画面回転に相当する量の変化があった」と確認したときにview.invalidate()を呼び出すことです。
独自Viewの実装
// 回転処理専用Viewを作成
class ContentView extends View {
Bitmap bitmap;//画像保存用
public ContentView(Context context) {
super(context);
//Bitmapをリソースから取得
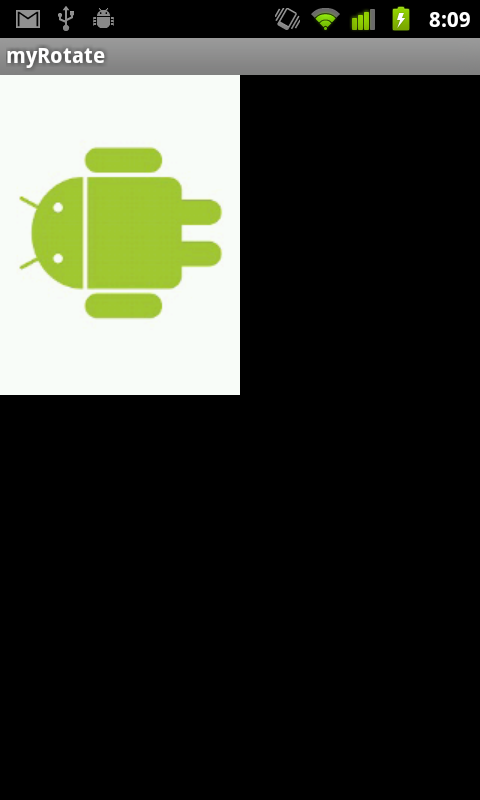
bitmap = BitmapFactory.decodeResource(getResources(),R.drawable.android_logo);
}
@Override
public void onDraw(Canvas canvas) {
Paint paint = new Paint();
Bitmap rotetaBitmap;
//Bitmapを回転する
// Bitmap のサイズの取得
int width = bitmap.getWidth();
int height = bitmap.getHeight();
float degree = radianToDegree(orientationValues[2]);
float roll = roundOrientationDegree( degree );
Matrix matrix = new Matrix();
matrix.postRotate(roll); // 回転させる角度を指定
rotetaBitmap = Bitmap.createBitmap(bitmap, 0, 0, width, height, matrix, true);
//描画処理drawBitmapは(Bitmap,x座標,y座標,Paint)
canvas.drawBitmap(rotetaBitmap, 0, 0, paint);
}
}
おつかれさまでした。